Die cuts are the tip of the creative iceberg.
Need a special diecut, finish and/or assembly?
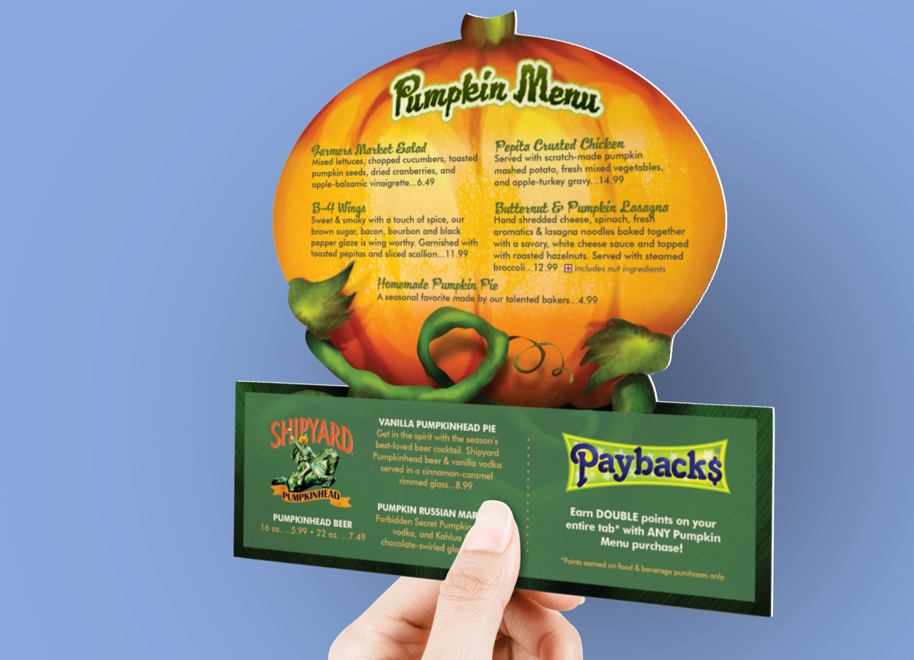
Our die cut templates make file setup simple.
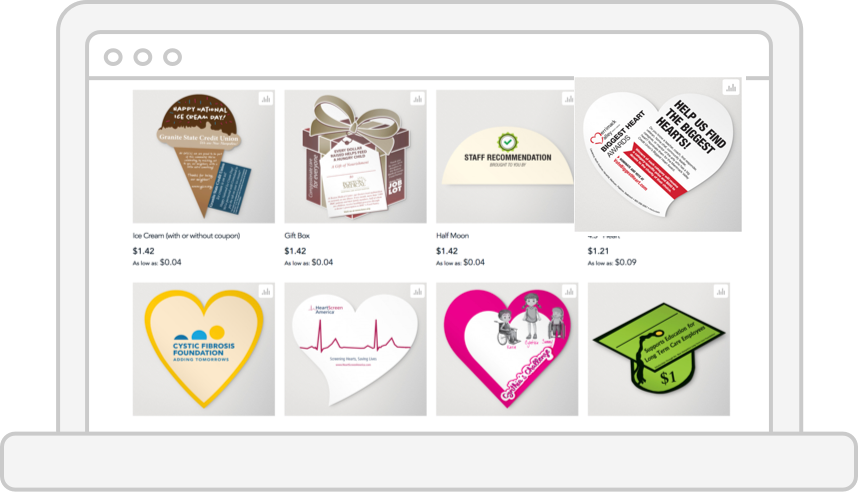
1 Shop the die cut gallery.
Search our extensive library of existing dies and select one that fits your need. Get creative, use existing dies to cut-out edges of single pieces or utilize the entire die.
*Dies are organized by size and cannot be scaled.
2 Download the die cut template file.
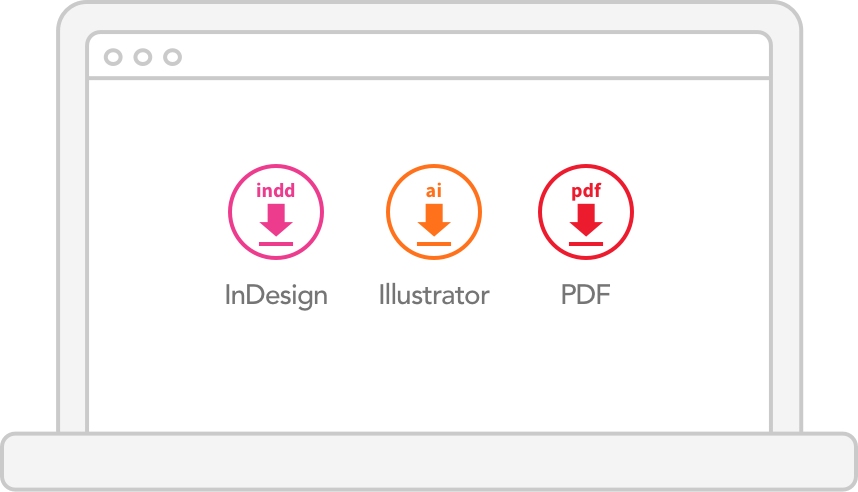
After you select a die cut from our gallery, download the associated template file. The template file includes a colored stroke indicating the actual cut (die lines) of the printed piece and the required bleeds.
3 Create your design.
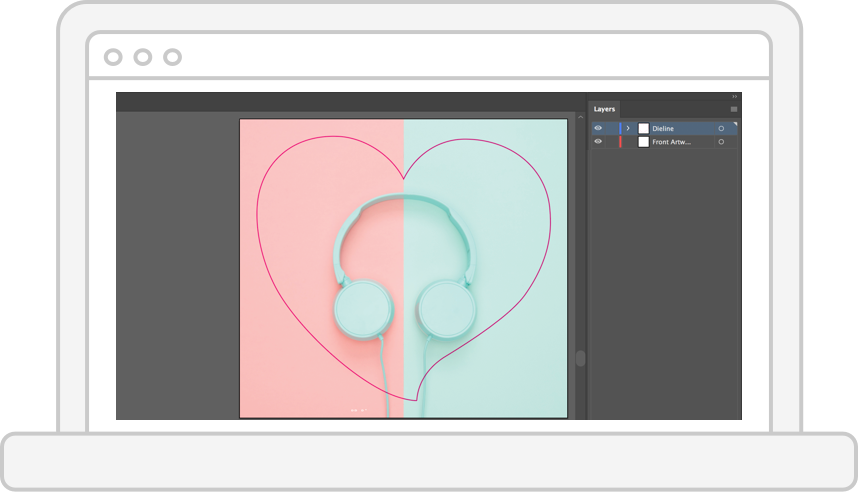
Keep the colored stroke as the top layer in the template file, place your artwork on the appropriate layer below the colored stroke layer to ensure the die-line will properly positioned.
4 Layout the back side.
Don’t forget the back side! If you want to print a back side on your die cut piece you must create an exact mirror image of the front and use it as a guide to layout your back side design.

Frequently asked questions
- What if I don't see the die shape I want?
- No worries. We can do a custom die for nearly any design. Our primary focus are the amazingly talented creatives with great imaginations. We love our designer community and the challenging projects they send our way. Bring it! Simply send us a sample of the design or the die-line only and we will provide an estimate. Sheet sizes and die sizes are restricted to a maximum 18" x 27" flat size.
- I like one of the dies in the library, but I want the piece to be larger or smaller?
- Unfortunately, steel rule dies cannot be stretched or shrunk. If you wish to use one of our shapes, but at a different size, this would be a custom die.
- Can I have a die-cut piece produced with foil stamping or white ink?
- Of course, you can. There are various methods of producing white ink which allows it to be both a digital and offset printed product. White ink produces much more crisp in a digital process, and thus we encourage designers to stay within the 12x18" size for digital printing of white ink with a diecut. If your piece is larger, have no fear. TAG can produce white ink in an offset fashion, up to 19x27" you should request a sample package to see the various production methods. The foil stamping process can be produced on any sheet size up to 19x27".
- Can I have perforations or scores for folding built into a custom die?
- Of course, you can. Simply create your die-line with a solid red rule line indicating where cutting should occur, add dashed lines for scores, and dotted lines for perforations. TAG professionals are always available to help you build your die-line file. If you have extensive folding in the piece, remember that paper has a thickness and oftentimes printed panels need to have a different width to fit within each other. TAG's die-cut and finishing experts will review your file to ensure it's setup properly. To avoid the need to edit designs, early review is safer.
- How long does it take to get a standard die piece produced vs. a custom piece?
- TAG's library of dies allows for fast turnaround. Typically, standard die-cut pieces will be 7-10 days. The size, ink and finishing will affect this date. For example, a piece printed in process color with a foil stamp, and a standard die-cut will be 10 days. While a standard process only print project within the 12x18 size will be printed, die-cut and shipped within 7 days.